Building Your Booth
Recording vocals in an untreated bedroom usually results in a hollow, amateur sound characterized by "comb filtering"—a hollow, phaser-like degradation of the audio caused by immediate early reflections from nearby walls. If you rent your space or lack the budget to install permanent fiberglass panels, a portable vocal booth is your most scientifically sound alternative.
The Goal: A "Dead" Acoustic Space
For vocal recording, particularly voiceovers, podcasts, and dry pop vocals, the goal is high absorption. We want zero room tone. The microphone should only capture the direct vector of sound emanating from your mouth.
Many creators mistakenly record inside their clothes closets. While the hanging clothes do provide high-frequency absorption, a small closet is an acoustic nightmare for low-mid frequencies (the "mud" or "boxiness" around 200-400Hz). A small square closet mathematically forces resonant modes directly into your vocal range.
The superior alternative is building a breathable, heavy-mass perimeter in the middle of a larger room.
The PVC & Blanket Method
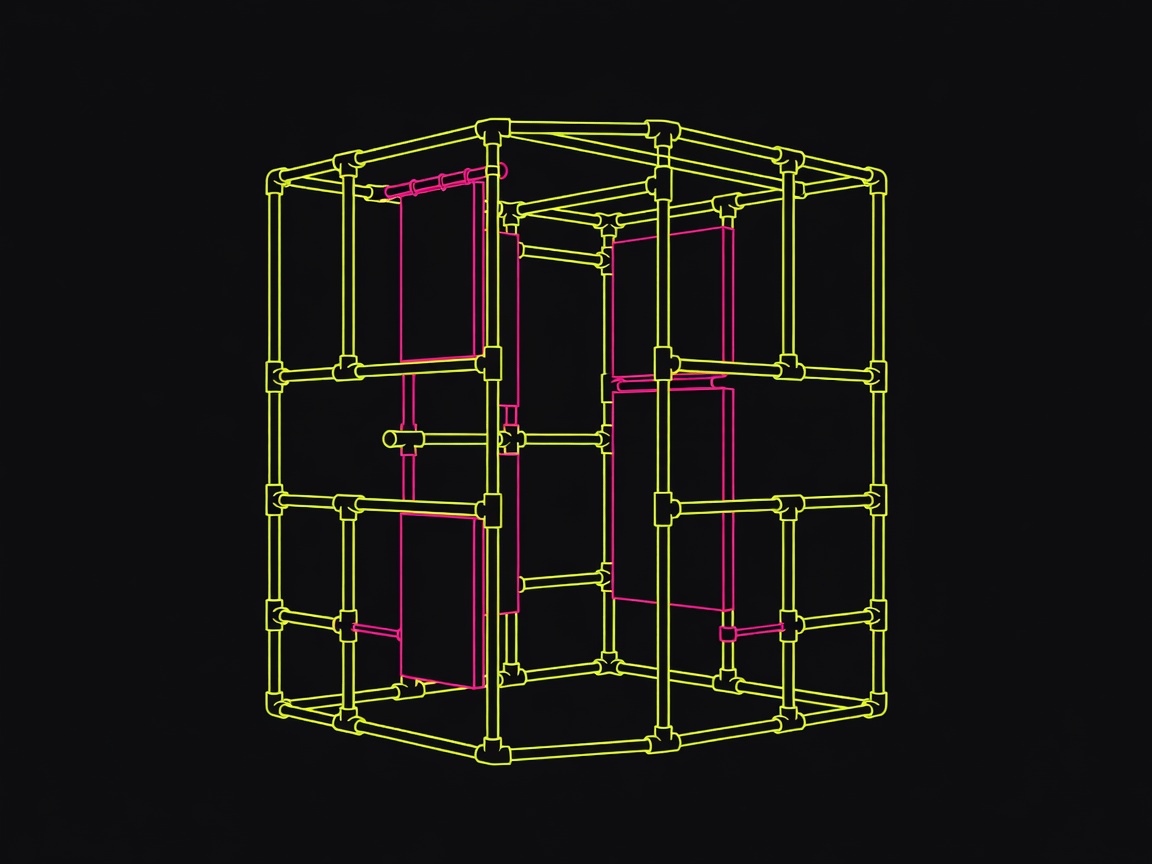
This method utilizes inexpensive PVC piping to create a cubic frame, over which specialized, heavy-duty acoustic blankets (or thick moving blankets) are draped. The mass of the blankets absorbs the acoustic energy before it hits the walls, and again when it returns.
Materials Needed
- PVC Pipes: 1-inch diameter PVC. You will need roughly 40-50 feet total depending on your height requirements.
- PVC Connectors: Eight 3-way corner connectors to build a cube frame.
- Acoustic Blankets: Do not use standard thin bedsheets. You need mass. Look for "Producer's Choice" acoustic blankets or heavy-duty moving blankets (at least 7-8 lbs per blanket). You need enough to cover the back, left, right, and top of the booth.
- Grommets or Clamps: To secure the blankets to the top bars of the PVC frame.
Construction Steps
- Cut the Frame: Cut your PVC pipes to create a footprint of roughly 4x4 feet, and a height of 7 feet. This gives you enough room to stand comfortably with a microphone stand and music stand/tablet without feeling claustrophobic.
- Assemble the Base: Use four pipes and four 3-way corners to create the square base on the floor.
- Insert Verticals: Insert the four 7-foot vertical pipes into the corners of the base.
- Cap the Top: Construct the top square (identical to the base) and secure it to the top of the vertical pipes.
- Drape the Mass: Hang the heavy blankets over the sides. The most critical areas are behind the singer and on the sides. Sound travels past the mic, hits the wall behind the singer, and bounces back into the sensitive front side of the cardioid microphone.
- The Roof: Hang a blanket over the top. A hard ceiling directly above the microphone is a notorious source of comb filtering.
Microphone Positioning Inside the Booth
Do not place the microphone dead center in the exact middle of the 4x4 booth. Total mathematical symmetry can cause standing waves even inside a blanket enclosure. Position the microphone slightly off-center.
Ensure the singer is facing *out* of the open side of the booth (if leaving a side open for ventilation or sightlines to a monitor). A cardioid microphone rejects sound from the rear. By having the singer's back to the open room, the sensitive front of the mic is facing the thick, dead back-wall of the blanket booth.