 01
Monitor & Mic Placement
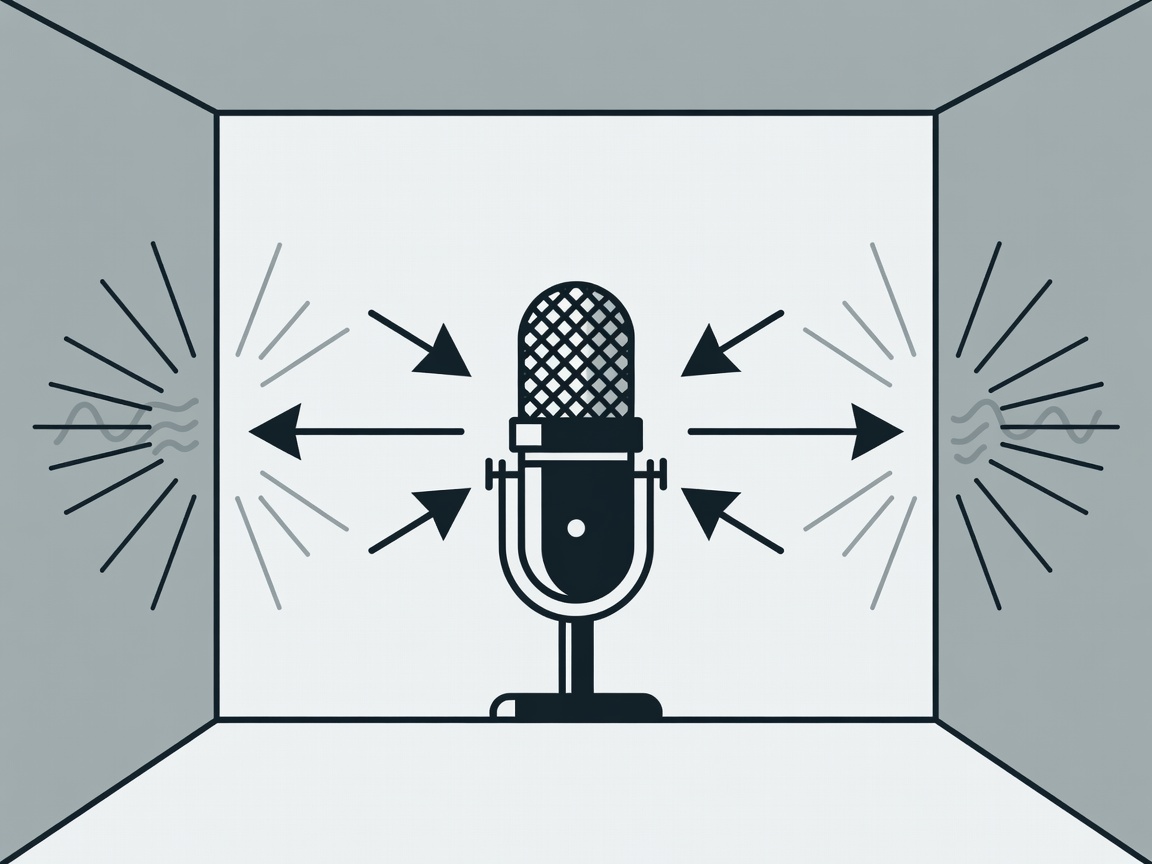
Geometry dictates clarity. Learn the equilateral triangle rule and why decoupling your monitors from your desk prevents resonant coupling.
Placement Guide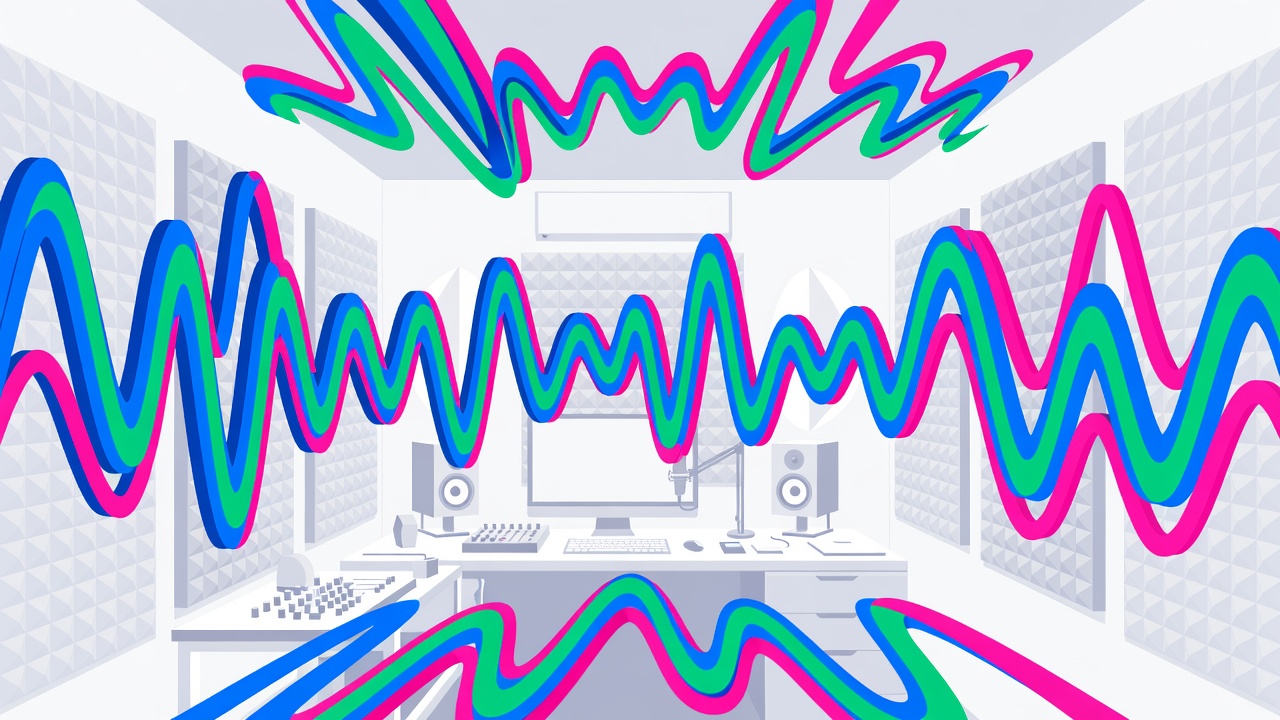
Your gear is incredible. Your room is ruining it. Welcome to the vector science of acoustic treatment.
Start SoundproofingWe’ve all been there. You invest heavily in a pristine condenser microphone, a high-fidelity interface, and monitors that promise a flat frequency response. You hit record, pour your soul into a vocal take, and play it back. What you hear isn't magic—it's muddy, hollow, and masked by a harsh flutter echo. The frustration of ruined recordings due to room acoustics is the rite of passage for every creator.
The culprit is usually the room itself. Untreated walls act as acoustic mirrors, reflecting soundwaves back at the microphone and your ears, creating phase cancellation and destructive interference. But there is a solution, and it doesn't require a degree in physics.
Read our acoustic journeyUnderstanding acoustics is simply tracking vector geometry in physical space. Sound travels outward spherically from the source. When these waves strike a hard surface, they reflect. By mapping these reflection vectors, we can place absorptive materials precisely where they intercept the bounce.
Explore Wave GeometryNot all foam is created equal. While thin polyurethane might tame high-frequency flutter, it ignores the critical mid-range and low-end mud. True acoustic science relies on rigid fiberglass or mineral wool to absorb broadband frequencies effectively.
Compare Materials
01
Geometry dictates clarity. Learn the equilateral triangle rule and why decoupling your monitors from your desk prevents resonant coupling.
Placement Guide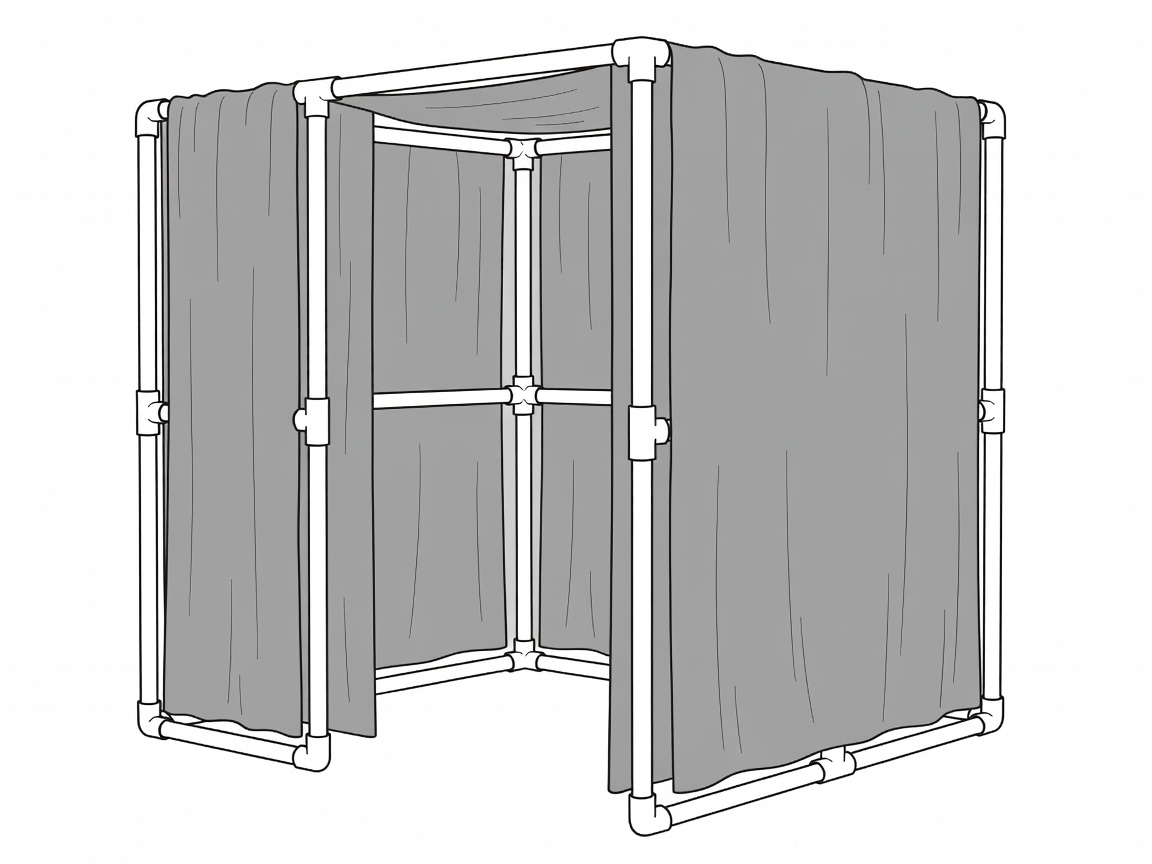 02
Construct a dead space for dry vocal recordings without permanent construction. PVC pipes and dense moving blankets act as your portable acoustic shield.
Build Guide